How to Fix Slow Windows 10 Laptop: Ultimate Tech Guide
There is nothing quite as frustrating as firing up your computer, only to be greeted by an endlessly spinning loading wheel. Whether you are a developer compiling code, an IT professional managing systems, or just someone trying to browse the web, a sluggish machine brings your productivity to a grinding halt. If you are tired of dealing with abysmal system performance and want to learn exactly how to fix slow Windows 10 laptop issues, you have landed in exactly the right spot.
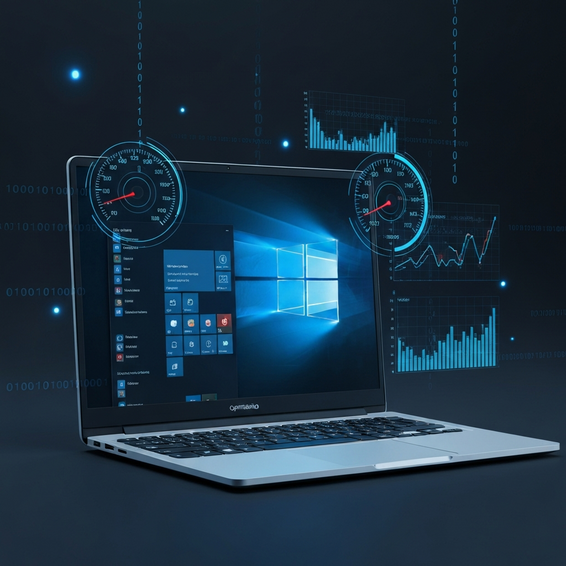
In this comprehensive guide, we are going to look under the hood to understand the real technical reasons behind PC slowdowns. We will walk through everything from foundational quick tweaks to advanced, developer-level strategies designed to get your hardware running at absolute peak efficiency.
Whether you are battling the infamous 100% disk usage bug, fighting off thermal throttling, or simply trying to tame background service bloat, this article provides the exact actionable steps you need to speed up Windows 10 and finally reclaim your workflow.
Why You Need to Fix Slow Windows 10 Laptop Performance
Before we start firing off command-line scripts or digging into the registry, it helps to understand why these slowdowns happen in the first place. Windows 10 is undeniably a powerful operating system, but it demands quite a bit from your hardware. Over time, an accumulation of background processes and general software clutter can seriously drag down your machine.
One of the most frequent culprits behind a bottlenecked system is disk I/O (Input/Output). If your laptop still relies on an older, mechanical Hard Disk Drive (HDD), the operating system is constantly fighting an uphill battle to read and write data. This hardware limitation directly translates into system-wide freezes and unexpected application crashes.
Another major factor is a lack of Random Access Memory (RAM). Whenever your laptop exhausts its available physical memory, Windows is forced to use a section of your storage drive—known as a “pagefile”—as temporary virtual memory. Because traditional storage drives are vastly slower than dedicated RAM modules, this continuous data swapping results in severe lag.
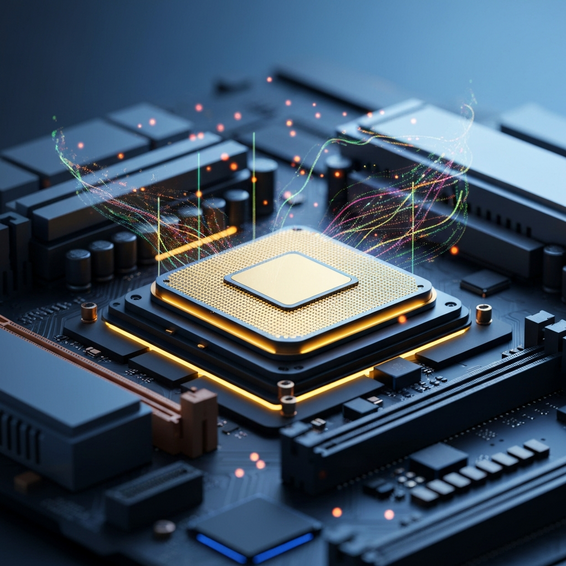
Lastly, we cannot ignore thermal throttling. Laptops are inherently constrained by their compact cooling designs. As dust accumulates in the vents or the factory thermal paste degrades over the years, your CPU will intentionally slow itself down to avoid overheating. The end result? A laptop that feels like it is running through molasses.
Quick Fixes / Basic Solutions
If you are desperate for an immediate performance boost, don’t worry—you do not necessarily need a degree in computer science to make a noticeable impact. Starting with a few foundational tweaks can work wonders.
Follow these steps to quickly speed up Windows 10:
- Restart Your Computer: While it might sound like a cliché IT response, a simple reboot is incredibly effective. It completely flushes the system RAM and forces any zombie processes hoarding your CPU cycles to close out.
- Disable Startup Programs: Press Ctrl + Shift + Esc to launch the Task Manager. Head over to the Startup tab and disable any applications that do not absolutely need to launch the second your computer boots (think heavy game launchers, Skype, or Spotify).
- Change Power Settings: Many laptops default to a restrictive “Power Saver” mode to extend battery life. To change this, navigate to Settings > System > Power & Sleep > Additional power settings. From there, choose the High Performance plan to prioritize sheer speed over battery longevity.
- Run Disk Cleanup: Simply type “Disk Cleanup” into your Windows Start menu search bar. Choose your primary drive (which is almost always C:) and let the tool sweep away unnecessary temporary files, bloated Windows update caches, and anything lingering in your recycle bin.
- Uninstall Bloatware: It is incredibly common for manufacturers to pack new laptops full of trial software and proprietary utilities. Head over to Apps & Features within your Settings menu and completely remove anything you do not actively rely on.
For systems that are only mildly bogged down, running through these basic Windows 10 optimization steps is often all it takes to see a night-and-day difference in speed.
Advanced Solutions for IT & Dev Professionals
Sometimes, the quick fixes simply aren’t enough. If your system is still crawling, it is time to roll up your sleeves and dig a bit deeper. These advanced strategies address deep-rooted operating system behaviors and physical hardware limits. Just remember to back up any critical data before you start making system-level changes.
1. Fix 100% Disk Usage by Disabling SysMain
SysMain—which older Windows users might recognize as SuperFetch—is a built-in service designed to pre-load your most frequently used applications directly into your RAM. While the intention is good, it is notoriously responsible for triggering the dreaded 100% disk usage bug, especially on older mechanical drives.
To shut it down, press Win + R, type services.msc, and press Enter. Scroll down the populated list until you spot SysMain. Right-click the service, hit Properties, and change the Startup Type to Disabled. Finally, click Stop, apply your new settings, and give your machine a quick restart.
2. Run System File Checker (SFC) and DISM
Over time, core operating system files can become corrupted, leading to silent background errors that chew through your CPU resources. Fortunately, Windows includes built-in command-line tools to repair them. In fact, running these diagnostics is a common best practice within DevOps methodologies for maintaining optimal server and OS health.
To get started, open your Command Prompt as an Administrator. You will want to run the Deployment Image Servicing and Management tool first. Type DISM /Online /Cleanup-Image /RestoreHealth and hit Enter. Let it finish, then type sfc /scannow and press Enter again. This one-two punch will scan for and automatically replace any broken system files.
3. Optimize Virtual Memory (Pagefile)
If your machine is constantly gasping for physical RAM, optimizing how Windows handles virtual memory can provide a much-needed buffer. Type “Advanced System Settings” into your Start menu. Under the Advanced tab that pops up, look for the Performance section and click on Settings.
In the new window, click the Advanced tab once more, then hit Change under the Virtual Memory header. Uncheck the box that says “Automatically manage paging file size for all drives.” Select your main C: drive and choose Custom size. As a general rule of thumb, try setting the initial size to 1.5 times your total physical RAM, and the maximum size to 3 times your total RAM (calculated in megabytes).
4. Upgrade Your Hardware (SSD & RAM)
At a certain point, software tweaks hit a wall. If your laptop is still rocking an antiquated HDD, the single most impactful thing you can do is swap it out for an NVMe or SATA Solid State Drive (SSD). Pair that with a RAM upgrade—aiming for at least 16GB—and you will essentially eliminate pagefile dependency altogether.
If you are looking for a rock-solid recommendation, the Samsung 970 EVO Plus NVMe SSD is an incredible choice. Making this swap will treat you to lightning-fast boot sequences and near-instant application load times.
Best Practices for Long-Term Performance
Getting your computer up to speed is great, but keeping it that way requires a bit of ongoing effort. Think of it like maintaining a pristine HomeLab environment—a little bit of routine upkeep goes a long way in preventing catastrophic slowdowns in the future.
Keep Your OS Updated: Microsoft is constantly rolling out patches to address newly discovered performance bugs and security flaws. Make it a habit to install those cumulative updates as soon as they become available.
Avoid Third-Party “PC Cleaners”: It is tempting to download software that promises a magic one-click fix, but registry cleaners often delete critical keys and do far more harm than good. You are always better off sticking to native Windows tools or universally trusted, professional utilities.
Physical Maintenance: Every six months or so, grab a can of compressed air and carefully blow out your laptop’s exhaust vents. If you consider yourself technically savvy, disassembling the cooler and applying fresh, high-quality thermal paste to the CPU is the ultimate way to banish thermal throttling for good.
Recommended Tools & Resources
To monitor your system like a pro, we strongly advise skipping consumer-grade gimmick software in favor of robust diagnostic tools. These utilities are standard practice when it comes to automating system maintenance and troubleshooting tough hardware bugs.
- Sysinternals Suite: Maintained directly by Microsoft, this suite is a goldmine. Tools like Autoruns grant you granular control over exactly what boots alongside your OS, while Process Explorer serves as a massively upgraded, detail-rich alternative to Task Manager.
- CrystalDiskInfo: This is a fantastic free utility that reads S.M.A.R.T. data straight from your storage drives. It acts as an early warning system, alerting you to potential hardware degradation well before a total failure occurs.
- HWMonitor: An absolute must-have for tracking your CPU and GPU temperatures in real-time, making it incredibly easy to figure out if thermal throttling is the root cause of your lag.
Thinking about adding some memory? The Crucial RAM 16GB Kit is renowned for its reliability and boasts excellent compatibility with the vast majority of modern Windows laptops.
For even more deep-dive tutorials, do not forget to explore our comprehensive library of Windows optimization guides.
FAQ Section
Why is my Windows 10 suddenly so slow?
When your computer’s performance falls off a cliff completely out of nowhere, a background process is usually to blame. Your system might be silently downloading a massive Windows Update, wrestling with a newly acquired malware infection, or even dealing with a failing hard drive. Your first instinct should always be to open Task Manager immediately to spot whatever process is hogging your resources.
Does adding RAM make a laptop faster?
Absolutely. If you are currently trying to get by on just 4GB or 8GB of RAM, Windows is almost certainly forcing your much slower storage drive to act as virtual memory. Bumping that up to 16GB gives the operating system the breathing room it needs to keep your active applications in high-speed memory, which virtually eliminates stuttering and dramatically speeds up load times.
How do I fix 100% disk usage in Windows 10?
The most reliable software fixes for the 100% disk usage bug involve disabling the SysMain service, pausing Windows Search indexing, or updating the drivers for your storage controller. That being said, if you are still running an older HDD, the only true, permanent fix is to bite the bullet and upgrade to a Solid State Drive (SSD).
Conclusion
Wrestling with a painfully slow computer is an exercise in frustration, but it is rarely a permanent death sentence for your machine. By taking the time to pinpoint hardware bottlenecks, turning off resource-heavy background services, and leveraging native diagnostic tools, you can easily breathe new life into an aging laptop.
Keep in mind that software tweaks will only take you so far. If your internal components are years out of date, investing in a fast SSD and a higher-capacity RAM kit is truly the ultimate way to fix slow Windows 10 laptop performance for the long haul. Put these strategies into practice today, and get back to enjoying a snappy, responsive computing experience.