How to Speed Up Old Laptop Windows: Top Performance Fixes
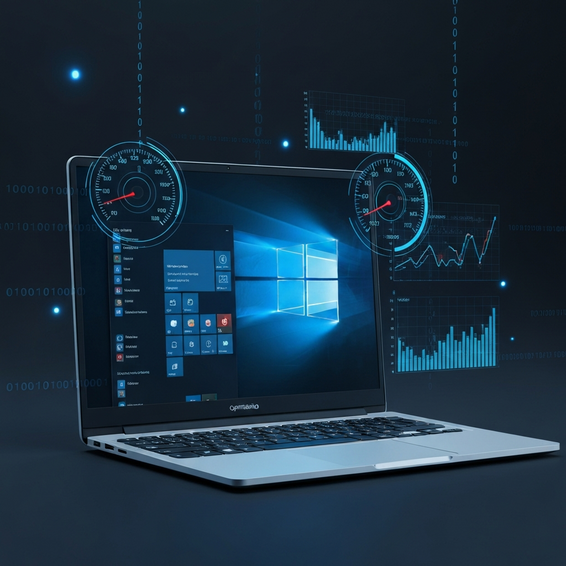
Let’s face it: few things are more frustrating than staring at a sluggish computer that takes ages just to boot up or open a basic app. If you’re dealing with a system that drags its feet, you’re probably searching for the most effective ways to speed up old laptop windows machines. But before you toss out perfectly good hardware, try a few strategic optimizations. You’d be surprised at how easily you can make an aging device feel brand new.
Over time, modern software updates, heavy web browsers, and background apps naturally start demanding more processing power. Because of this, older machines inevitably struggle to keep up with today’s computing needs. The good news? You absolutely don’t need to be a systems engineer or an IT professional to dramatically improve your laptop’s speed and responsiveness.
In this guide, we’ll walk through everything from basic software tweaks to advanced Windows performance tuning. Whether you’re trying to optimize your system for simple daily web browsing, heavy software development, or even transforming that old hardware into a dedicated HomeLab server, these actionable steps will bring your laptop back to life.
Why This Problem Happens: The Need to Speed Up Old Laptop Windows
Before we dive right into the solutions, it helps to understand exactly why a Windows 10 slow old laptop becomes a reality in the first place. Over years of daily use, operating systems naturally accumulate a massive amount of digital clutter. We’re talking about temporary files, outdated registry entries, cached data, and redundant background services that constantly chew through your CPU cycles.
From a hardware standpoint, the main culprits are usually physical bottlenecks paired with software bloat. Traditional mechanical hard disk drives (HDDs), for instance, physically degrade as they age. Because they rely on spinning magnetic platters and moving read/write heads, data access times eventually become painfully slow. When Windows attempts to load core system files from a worn-out HDD, the entire interface can practically freeze.
Beyond that, modern web browsers like Google Chrome—and even communication apps like Microsoft Teams—consume significantly more system memory today than they did just five years ago. When your RAM eventually fills up, Windows has to rely on a “page file” on your hard drive to act as overflow memory. If the system has to access this page file on an aging mechanical drive, overall performance will grind to an absolute crawl.
Finally, thermal throttling plays a massive, often-overlooked role in performance degradation. As dust and debris steadily build up inside the laptop’s chassis, the CPU naturally runs much hotter. To prevent catastrophic hardware damage, the motherboard intentionally slows down the processor to cool it off. This protective mechanism is known as thermal throttling.
Quick Fixes and Basic Solutions
If you’re looking for immediate results, start by grabbing the lowest-hanging fruit. These basic fixes don’t require any technical expertise, take only a few minutes to implement, and serve as the perfect foundation for a solid maintenance routine.
1. Disable Startup Programs
Hands down, one of the easiest ways to speed up an aging machine is to simply disable your startup programs. Many applications automatically configure themselves to launch silently in the background the second you turn on your PC. Unfortunately, this eats up valuable RAM, consumes extra CPU cycles, and drastically extends how long it takes your computer to boot up.
- Press Ctrl + Shift + Esc to instantly open your Task Manager.
- Navigate to the Startup tab (labeled as “Startup apps” in Windows 11).
- Sort the list of apps by clicking the “Startup impact” column header.
- Right-click any non-essential program—like Spotify, Skype, or your game launchers—and select Disable.
2. Switch to a High-Performance Power Plan
Out of the box, Windows laptops are automatically configured to balance performance with battery life. While helpful on the go, this often limits your CPU speeds to conserve power. If your laptop spends the majority of its time plugged into the wall, changing this single setting can unlock an immediate speed boost.
- Open the Windows Start menu and type Control Panel.
- Navigate to Hardware and Sound > Power Options.
- Click Show additional plans if the option isn’t immediately visible.
- Select the High performance power plan to unleash your CPU’s maximum clock speed.
3. Adjust Visual Effects for Best Performance
Windows comes packed with numerous animations, smooth shadow effects, and sleek transparency features. Sure, they look aesthetically pleasing, but they also consume precious system resources. Turning these eye-candy features off makes navigating around your desktop feel infinitely snappier.
- Press the Windows key and type Advanced system settings, then hit Enter.
- Under the Performance section found on the Advanced tab, click on Settings.
- Choose the radio button labeled Adjust for best performance.
- Click Apply, and then OK. You should instantly notice that dragging windows and opening menus feels much faster.
4. Run Disk Cleanup and Uninstall Bloatware
Freeing up storage space is critical because it allows your operating system to manage its virtual memory more efficiently. To do this quickly, use the built-in Windows Disk Cleanup tool to sweep away temporary internet files, massive old Windows update caches, and unnecessary system error logs.
While you’re at it, navigate over to your Control Panel or Settings app and get aggressive about uninstalling bloatware. Delete any pre-installed manufacturer software, get rid of expired antivirus trials, and remove any bulky applications you haven’t opened in the past six months.
Advanced Solutions for IT and Power Users
If those basic tweaks aren’t quite enough to salvage your machine, it’s time to explore system-level optimizations and physical upgrades. These more advanced solutions dive deeper into Windows performance tuning, helping you completely maximize your older hardware’s true potential.
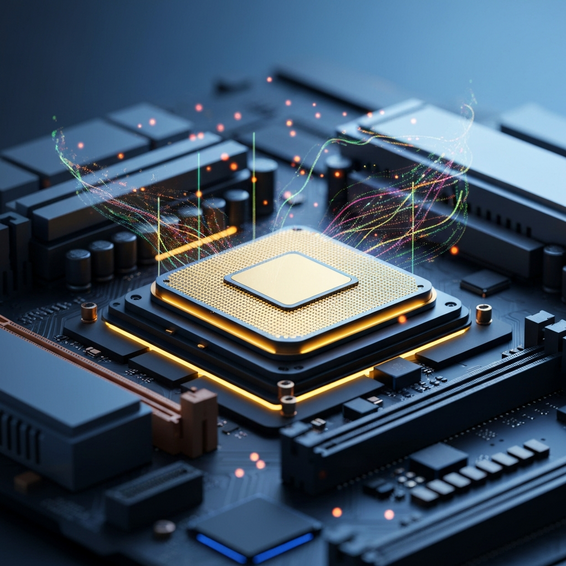
5. Replace HDD with SSD
From a hardware perspective, the single most impactful upgrade you can possibly make is to replace your HDD with an SSD (Solid State Drive). Mechanical drives are severely bottlenecked by their physical moving parts, whereas an SSD uses flash memory. This switch alone offers exponentially faster read and write speeds.
Swapping out your old drive will drastically reduce your boot times—taking them from a frustrating few minutes down to mere seconds. Those annoying application loading delays will vanish, and general system lag will become a thing of the past. Best of all, you can easily clone your existing Windows installation over to the new SSD using free software like Macrium Reflect, ensuring you don’t lose a single file.
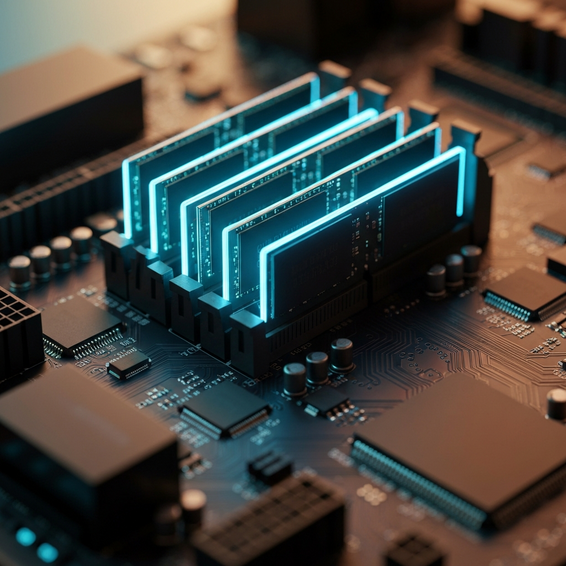
6. Upgrade RAM Capacity
As mentioned earlier, if your laptop is heavily relying on the page file on your hard drive, you are undeniably running out of physical memory. To truly optimize Windows performance for heavy multitasking or opening dozens of browser tabs, you’ll need to upgrade your RAM.
Today, most standard computing tasks demand an absolute minimum of 8GB of RAM. However, 16GB is now the widely accepted “sweet spot” if you want smooth, long-term performance. Just be sure to check your laptop manufacturer’s documentation first. You’ll need to determine your device’s maximum supported memory, how many available slots you have, and the correct DDR generation (like DDR3 or DDR4) before buying.
7. Disable SysMain (Superfetch) and Windows Search
Windows actively runs several background services designed to speed up your apps by preloading them into memory. Ironically, on older hardware—especially laptops still running on HDDs—services like SysMain (formerly known as Superfetch) and the Windows Search indexer often cause debilitating 100% disk usage spikes.
- Press Win + R, type in
services.msc, and hit Enter. - Scroll down the list until you find SysMain, right-click it, and select Properties.
- Change the Startup type dropdown to Disabled, and then click Stop.
- Repeat this exact same process for the Windows Search service to prevent it from constantly indexing your hard drive in the background.
8. Debloat Windows via PowerShell
Out of the box, both Windows 10 and 11 ship with heavy telemetry services and background tracking features that constantly send data back to Microsoft. Because of this, advanced users and DevOps engineers frequently rely on open-source PowerShell scripts to strip Windows right down to its bare essentials.
Using highly trusted community tools, such as the Windows10Debloater script, can safely rip out integrated bloatware, halt aggressive background tracking, and even optimize your network settings. Just a word of caution: always make sure you create a system restore point or run a full backup before executing any automated, system-level debloat scripts.
Best Practices for Ongoing Maintenance
Optimizing your laptop isn’t just a “one-and-done” task. If you want to keep your machine running buttery smooth for years to come, it pays to follow some solid IT administration principles.
- Stay on Top of Security Updates: Make it a habit to always install critical Windows security patches. While major feature updates can occasionally introduce temporary bugs, security patches are vital. They keep your machine safe from hidden malware that could silently drag down your system’s speed.
- Clean the Physical Vents: Grab a can of compressed air and blow out your laptop’s exhaust vents every few months. This simple routine maintenance prevents thermal throttling and protects your sensitive internal CPU and GPU from lasting heat damage.
- Run Routine Antivirus Scans: Use Windows Defender or a lightweight third-party antivirus tool to regularly scan your system for malicious software. Covert crypto-miners and hidden adware are notorious for instantly crippling older, legacy processors.
- Manage Your Web Browser Extensions: Modern web browsers are notorious memory hogs. To preserve system memory and improve your overall laptop speed, limit yourself to only the most essential extensions, like a reliable ad-blocker and a secure password manager.
Recommended Tools and Hardware Resources
To successfully execute these optimizations, having the right toolkit at your disposal is paramount. Below are a few of our top recommendations for analyzing your performance, buying the right hardware, and seamlessly managing your system upgrades.
- Samsung 870 EVO SATA III SSD: This drive is widely considered the gold standard for replacing older, mechanical laptop hard drives. It offers supreme reliability, excellent warranty coverage, and blazing-fast read/write speeds that will genuinely transform an aging computer.
- Crucial System Scanner: This is a free, incredibly handy web tool. It scans your motherboard and tells you exactly what type of RAM and SSD upgrades your specific laptop model actually supports.
- Macrium Reflect Free: An industry-standard disk cloning utility. It ensures that your operating system, software licenses, and personal files all transfer flawlessly over to a new solid-state drive without a hitch.
- BleachBit: A fantastic, completely open-source alternative to those bulky commercial system cleaners. It aggressively clears out your cache, deletes pesky tracking cookies, and frees up massive amounts of disk space—all without secretly installing invasive adware.
Frequently Asked Questions (FAQ)
Does adding more RAM make an old laptop faster?
Yes, absolutely! Upgrading your memory allows your CPU to access data dynamically, meaning it no longer has to rely on that agonizingly slow hard drive page file. Moving from a basic 4GB setup up to 8GB or 16GB will drastically improve your multitasking fluidity and finally stop those browser tabs from crashing.
Is it worth fixing an old laptop instead of buying a new one?
In most cases, yes. If your laptop is less than seven or eight years old and packs at least an Intel Core i3 or i5 processor, taking the time to upgrade it makes perfect financial sense. Throwing in an SSD and a bit more RAM can make the system feel incredibly fast, usually for well under $70. It’s a highly cost-effective alternative to dropping hundreds on a brand-new machine, which is especially great for students, basic office workers, or anyone setting up HomeLab experiments.
Will reinstalling Windows improve performance?
Definitely. Performing a clean installation of Windows completely wipes out years of bloated registry files, hidden malware, stubborn leftover application data, and conflicting system drivers. Essentially, it gives your hardware a completely fresh slate. This is one of the best ways to restore out-of-the-box speeds and instantly solve complex operating system errors.
What is thermal throttling, and how do I stop it?
Thermal throttling happens when your laptop’s cooling system can no longer effectively expel heat—usually because of thick dust buildup or degraded thermal paste. To protect itself from literally melting, the processor intentionally slows its own performance down. You can put a stop to this by blowing compressed air into the laptop’s vents to clear out the fan. If that doesn’t work, you might need a technician to crack it open and re-apply fresh thermal paste to the CPU.
Conclusion: Breathe New Life Into Your Hardware
Dealing with abysmal system performance doesn’t have to mean opening your wallet for a brand-new computer. By taking the time to understand fundamental system bottlenecks and applying these targeted solutions, you can effectively speed up old laptop windows setups and comfortably extend the functional lifespan of your device by several years.
Start out with the quick, risk-free basics: disable those pesky startup programs, switch over to a high-performance power plan, and eliminate any unnecessary bloatware. Once you feel comfortable with those software tweaks, consider taking the plunge into physical hardware upgrades. Swapping out an aging mechanical drive for a modern SSD and bumping up your memory capacity will undoubtedly yield night-and-day performance improvements.
Just remember that maintaining IT hardware is an ongoing process that requires consistent, proactive habits. Keep your thermals in check, manage your digital clutter regularly, and do a quick audit of your installed software every few months. If you implement these proven strategies today, you’ll be well on your way to enjoying a much faster, highly responsive computing experience!