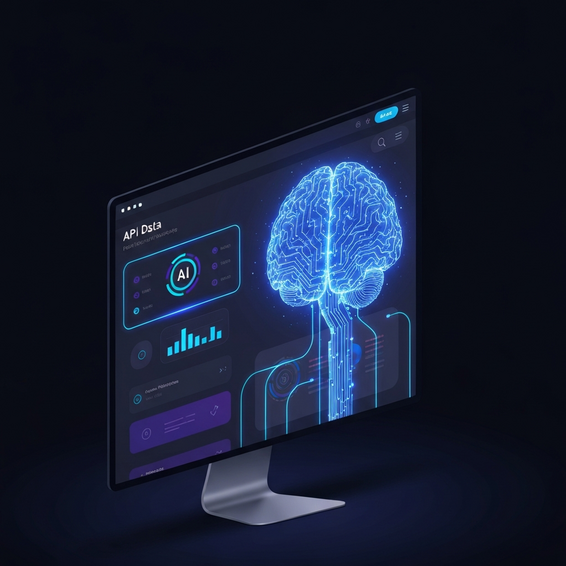
How to Build Your Own AI Assistant Using Python
Getting frustrated with rigid, locked-down commercial AI models? Craving a system that actually caters to your unique needs as a developer? You are definitely not the only one. Right now, thousands of IT professionals and developers are waking up to the massive advantages of owning their artificial intelligence stack. For many, the ultimate fix is to build your own AI assistant using Python.
Whether you are dreaming of a JARVIS-style voice assistant for your self-hosted HomeLab environments or just need a reliable, specialized coding buddy to help with daily tasks, Python is the ideal tool for the job. Thanks to its incredibly accessible syntax and a massive ecosystem of machine learning libraries, diving into Python AI development is easier than ever.
In this comprehensive technical guide, we will walk through the process of creating a custom AI chatbot from scratch. We’ll cover everything you need to know—ranging from basic API integrations to advanced local LLM setup architectures—so you can walk away with a private, powerful, and fully scalable AI companion.
Why This Problem Happens: The Need for Custom AI
So, why are so many developers actively pivoting away from mainstream solutions like ChatGPT or Claude? It usually boils down to very real privacy concerns and frustrating technical limitations. Relying exclusively on external cloud platforms inevitably introduces a few major bottlenecks to your workflow.
The biggest red flag is data privacy. Anytime you feed proprietary code or sensitive internal database schemas into a public cloud API, you run the risk of data leakage. In strict enterprise or DevOps environments, that kind of exposure isn’t just risky—it is a massive compliance violation. On top of that, you have to deal with rigid guardrails. Commercial AIs frequently refuse to execute complex technical requests, or they spit out heavily sanitized responses that lack the depth a real engineer needs.
Then there is the issue of latency and unexpected downtime, both of which can absolutely tank your productivity. When the cloud goes down, your workflow grinds to a halt, leaving you completely stranded without your AI tools. Finally, we can’t ignore the trap of vendor lock-in. By tying yourself to closed ecosystems, you remain entirely at the mercy of sudden pricing hikes and restrictive API rate limits.
The beauty of deciding to build your own AI assistant using Python is that you take back absolute control. You get to dictate how data flows, enforce your own strict privacy standards, and tweak the feature set so it perfectly aligns with your specific DevOps workflow.
Quick Fixes / Basic Solutions: Getting Started
If you are looking to spin up a fast, reliable AI assistant script without too much friction, kicking things off with a cloud-based API like OpenAI is arguably your easiest route. Doing this lays down a solid operational foundation before you eventually transition into more complex, offline setups.
- Set Up Your Virtual Environment: It’s always best practice to isolate your Python projects. Open up your terminal and run
python -m venv ai_env, followed bysource ai_env/bin/activate(orai_env\Scripts\activateif you are on Windows). - Install Required Libraries: Next, you will need the official OpenAI API with Python package, along with python-dotenv to keep your secure keys safe. Simply run
pip install openai python-dotenv. - Secure Your API Keys: Create a
.envfile directly in your project root and add your secret key like this:OPENAI_API_KEY=your_key_here. Be absolutely sure never to commit this file to version control. - Write the Core Script: Now, create a file named
assistant.py. Inside, you’ll import your libraries, load up the environment variables, and initialize the OpenAI client. - Create a Continuous Loop: To make it interactive, use a
while True:loop to continuously prompt the user for input. Pass that input to thechat/completionsendpoint and print out the response. Just like that, you have built a basic, functioning custom AI chatbot.
Believe it or not, this basic setup rarely takes more than ten minutes. By the end of it, you immediately have a highly responsive, terminal-based AI assistant ready to go. However, if your goal is to truly own your AI tooling, we need to explore local execution.
Advanced Solutions: Local Execution and Voice
From a strict IT and developer perspective, leaning on external APIs is usually just a stepping stone. Advanced users heavily favor a local LLM setup, as it entirely eliminates annoying cloud dependencies and network latency.
Integrating Local LLMs
Thanks to incredible tools like Ollama or LM Studio, you can now run powerful models—think Llama 3 or Mistral—directly on your own local hardware. Connecting these models to your Python script is a breeze with the LangChain framework. Just run pip install langchain langchain-community, then configure your LLM chain to point directly to your local host port (which is usually localhost:11434 if you are using Ollama).
Running things this way ensures your custom AI chatbot functions entirely offline. Not only does this flawlessly protect your proprietary code, but it also completely wipes out monthly subscription costs.
Adding Voice Capabilities
If you want to take things a step further and transform that text script into a fully-fledged voice assistant in Python, you will need to integrate speech-to-text (STT) and text-to-speech (TTS) libraries.
Start by installing the SpeechRecognition and pyttsx3 packages. With these, you can easily use your microphone to capture audio, convert it to raw text via Python’s speech recognition, and feed that text straight into your LLM. From there, pyttsx3 handles reading the AI’s generated response aloud. If you are looking for exceptionally high-quality transcription, it’s highly recommended to integrate OpenAI’s Whisper model locally.
Retrieval-Augmented Generation (RAG)
Any AI is ultimately only as good as the context it’s given. By implementing Retrieval-Augmented Generation (RAG) using ChromaDB and LangChain, you actually empower your AI assistant to read through local PDF documents, private code repositories, or company wiki pages. The system works by generating embeddings of your documents and searching through them before formulating an answer. Ultimately, this grants your assistant a form of long-term memory, alongside deep contextual awareness of your specific IT infrastructure.
Best Practices for Python AI Development
As you build your own AI assistant using Python, keeping a close eye on security, overall performance, and a clean code architecture should be your top priorities.
- API Key Security: We can’t stress this enough—never hardcode your API keys. Always utilize
.envfiles and make sure they are safely added to your.gitignore. Hardcoded keys are incredibly easy targets for scraping bots. - Cost Management: If you decide to stick with paid APIs, be sure to set strict billing limits within your provider’s dashboard. You can also implement local caching for your most frequent queries to cut down on redundant, costly API calls.
- Asynchronous Processing: Take full advantage of Python’s
asynciolibrary, especially when building GUI-based assistants. This keeps your application from awkwardly freezing up while it waits for the LLM to generate a response. - Containerization: Packaging your Python environment with Docker is highly recommended. It guarantees that your AI assistant script will run identically whether it’s on your laptop, a dedicated server, or as part of your Python automation pipelines.
- Error Handling: Build in robust
try/exceptblocks from day one. LLM APIs are known to occasionally time out or return malformed JSON, and your script needs to gracefully handle those sudden connection drops.
Recommended Tools / Resources
To successfully build, refine, and scale your AI assistant, you should absolutely leverage the best tools the modern developer ecosystem has to offer:
- LangChain: This is the ultimate framework for chaining LLM commands together, managing complex memory states, and seamlessly connecting to vector databases.
- Ollama: Hands down, the most frictionless way to get a local LLM setup up and running on macOS, Linux, or Windows.
- ChromaDB: A wonderfully lightweight, open-source vector database that is practically purpose-built for adding RAG capabilities to your assistant.
- Hugging Face: The premier, go-to repository for hunting down open-source models, diverse datasets, and highly specialized AI libraries.
Frequently Asked Questions (FAQ)
Is it hard to build an AI assistant in Python?
Not at all! Thanks to modern, streamlined libraries like OpenAI’s official SDK and LangChain, you can easily piece together a basic, functioning text assistant in under 50 lines of code. While advanced features like voice integration and local memory certainly require a bit more effort, they are exceptionally well-documented across the community.
Can I run my Python AI assistant completely offline?
Absolutely. By bringing in tools like Ollama or LM Studio and pairing them with robust open-source models (such as Llama 3), your assistant is able to process requests entirely on your local CPU or GPU. No internet connection is required whatsoever.
How much does it cost to build your own AI assistant?
If you decide to go the route of local, open-source models, the software is 100% free—you are really only paying for the electricity your hardware uses. If you opt for commercial cloud APIs like OpenAI instead, you’ll be charged fractions of a cent per token. For typical personal use, this usually only amounts to a few bucks a month.
Can my AI assistant execute system commands?
Yes, it definitely can. By tapping into Python’s subprocess or os modules, you can configure your AI to trigger scripts, manage local files, or even deploy servers. Keep in mind, though, that this opens up a severe security risk. You should always ensure that execution-capable AIs are running in strictly sandboxed environments, like Docker containers.
Conclusion
Settling for generic, heavily restricted commercial AI bots is quickly becoming a thing of the past. As we’ve explored throughout this guide, taking the time to build your own AI assistant using Python unlocks a level of unparalleled customization. It guarantees your sensitive data stays private while integrating seamlessly into the developer workflows you already use.
The best approach is to start small: hook up the OpenAI API with Python inside a secure virtual environment. Once you feel completely comfortable with the basics, you can graduate to a local LLM setup, weave in voice capabilities, and introduce vector databases for intelligent document retrieval. The open-source AI landscape is evolving at a breakneck pace, so take advantage of it today and build a tool that actually works for you.