How to Improve Laptop Speed Windows: 10 Advanced IT Fixes
Remember when you first bought your Windows laptop and everything felt lightning-fast? If it’s starting to feel more like a relic from the dial-up days, you’re certainly not alone. Whether you’re compiling heavy code, running local Docker containers, or just trying to juggle a dozen browser tabs, dealing with a sluggish computer is an absolute productivity killer.
Operating systems naturally get bogged down over time. They quietly collect temporary files, spin up unnecessary background processes, and fragment data—all of which silently chew up your system’s resources. If you find yourself constantly searching for how to improve laptop speed windows, you’ve definitely come to the right place.
We’ve put together a comprehensive guide that walks you through basic, everyday tweaks as well as advanced, IT-level optimizations. Our goal is to help you breathe new life into your aging machine. By the time you finish reading, you’ll walk away with a finely tuned system that can handle intense workloads without even breaking a sweat.
Understanding How to Improve Laptop Speed Windows: The Technical Breakdown
Before we dive straight into the solutions for how to improve laptop speed windows, it helps to understand why this performance drop happens in the first place. Honestly, it’s rarely just one single culprit. More often than not, a slow PC suffers from a frustrating combination of hardware bottlenecks and software bloat.
When looking at this from an IT perspective, the usual suspects generally fall into a few specific categories:
- Resource Exhaustion: Background apps and telemetry services are notorious for silently eating away at your CPU cycles and RAM while you aren’t looking.
- Thermal Throttling: Dust builds up over time and blocks critical airflow. When this happens, your CPU and GPU automatically slow themselves down (underclock) to avoid overheating.
- Storage Bottlenecks: If you’re still running on an old-school Hard Disk Drive (HDD) or your Solid State Drive (SSD) is practically full, you’ll experience massively reduced read and write speeds.
- Registry and Cache Bloat: Years of downloading, installing, and trashing software leave behind a messy trail of orphaned registry keys and fragmented cache files.
Once you understand these underlying bottlenecks, it becomes much easier to target your troubleshooting efforts effectively. This is far better than rolling the dice with those generic “PC cleaner” programs that frequently end up doing more harm than good.
Quick Fixes to Boost Performance
Craving an immediate boost in responsiveness? Start with these highly accessible, high-impact software tweaks. They serve as great foundational steps and often clear up the most noticeable forms of daily lag.
1. Disable Heavy Startup Programs
It’s surprisingly common for apps to secretly configure themselves to launch the very second you log in. Not only does this drag out your boot times, but it also creates a persistent drain on your system’s memory right from the start.
- Press Ctrl + Shift + Esc to bring up the Task Manager.
- Head over to the Startup apps tab.
- Sort the list of applications by their Startup impact.
- Right-click and disable anything you don’t need right away, such as Spotify, Skype, or hefty gaming launchers.
2. Enable Windows Storage Sense
Running out of disk space is an absolute performance killer. The moment your main operating system drive gets full, Windows starts struggling to write essential temporary files or properly manage your virtual memory.
- Navigate to Settings > System > Storage.
- Find the toggle for Storage Sense and turn it on.
- Set it up to run automatically. This effortlessly clears out temp files, empties your recycle bin, and scrubs away leftover Windows update data.
3. Adjust Power Options for Performance
Right out of the box, Windows laptops default to a “Balanced” power plan designed to stretch out battery life. While that’s fantastic when you’re working from a coffee shop, it can aggressively throttle your processor’s true potential.
- Hit the Windows Key, type Choose a power plan, and hit enter.
- Pick High Performance (you might have to click “Show additional plans” to actually see it).
- For Windows 11 users, head to Settings > System > Power & battery, and switch your Power mode over to Best performance.
Advanced Solutions: An IT Professional’s Approach
If those quick fixes didn’t completely cure your sluggishness, it’s time to dig a little deeper. The following advanced techniques are meant to tackle deep-rooted systemic inefficiencies, as well as stubborn hardware limitations.
1. Debloat Windows via PowerShell
Both Windows 10 and 11 come packed to the brim with pre-installed apps and rather heavy telemetry processes. If you’re comfortable getting a bit technical, you can skip the standard user interface entirely and strip the OS down using PowerShell.
By running Windows PowerShell as an Administrator, you can tap into trusted community scripts (the Chris Titus Tech Windows Utility is a great example) to rip out telemetry, shut down Cortana, and uninstall bloated application packages. Doing this frees up hundreds of megabytes of RAM and noticeably drops background CPU utilization.
2. Optimize Virtual Memory (Pagefile)
Whenever your machine runs out of actual physical RAM, it leans on a hidden file located on your hard drive—known as the pagefile—to act as virtual memory. If this isn’t configured well, it can lead to agonizingly slow user interface lag.
- Open your Start Menu and search for Advanced system settings.
- Under the Advanced tab, click on Settings within the Performance section.
- Jump over to the Advanced tab in the new window, then click Change under the Virtual memory header.
- Uncheck the box that says “Automatically manage paging file size” so you can enter a custom size. A solid rule of thumb here is to set the initial size to 1.5x your physical RAM, and the maximum size to 3x.
3. Disable Virtualization-Based Security (VBS)
Did you recently make the jump to Windows 11 only to notice a harsh drop in performance, especially while gaming or running heavy workloads? Virtualization-Based Security (VBS) could very well be the culprit. It’s a fantastic feature for enterprise-level security, but it places a massive burden on standard consumer hardware.
- Open the Windows start menu and search for Core Isolation.
- Switch the Memory Integrity toggle to the off position.
- Give your laptop a quick restart. Note: Bear in mind that this lowers your defense against certain types of malicious code, so you should only disable it if your performance is genuinely suffering.
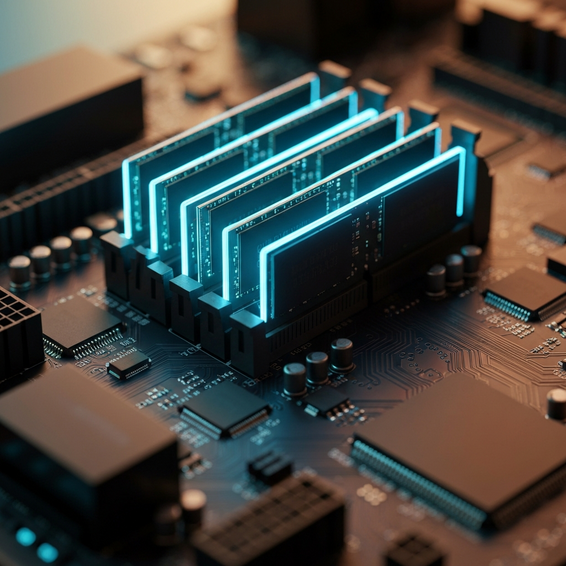
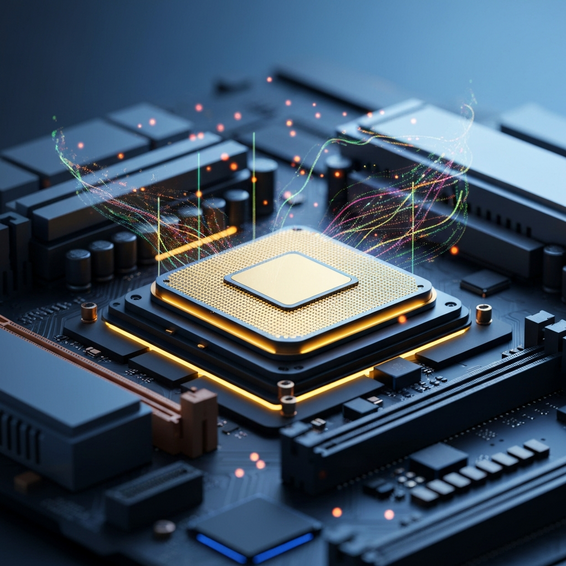
4. Hardware Upgrades: NVMe SSDs and Dual-Channel RAM
At the end of the day, no amount of clever software tweaking can magically fix severely outdated hardware. If your operating system still lives on an old-school spinning HDD, swapping it out for a SATA SSD or a blazing-fast NVMe M.2 drive is the absolute best upgrade you can make. It literally drops boot times from painful minutes down to mere seconds.
On top of that, you should ensure your laptop’s RAM is operating in a dual-channel configuration. Moving from a single 8GB stick to a pair of 8GB sticks (giving you 16GB total) effectively doubles your memory bandwidth. You’ll see a night-and-day difference in how smoothly your laptop multitasks and handles integrated graphics.
Best Practices for Sustained Performance
Keeping your machine running at peak speed isn’t a “set it and forget it” deal; it’s an ongoing process. To keep your newly optimized laptop feeling fresh, try weaving these essential best practices into your routine.
- Routine Malware Scans: Let Windows Defender and a reputable anti-malware tool do their jobs. You want to be absolutely sure no hidden malicious scripts are cryptomining in the background.
- Driver Updates: Don’t rely solely on Windows Update. Instead, try to grab your GPU and chipset drivers straight from the manufacturer—whether that’s NVIDIA, AMD, or Intel.
- Physical Cleaning: Try to pop off your laptop’s bottom panel about once a year. Grab a can of compressed air and carefully blow the dust out of the cooling fans and heatsink fins to keep thermal throttling at bay.
- Reapply Thermal Paste: If your machine is pushing three years old, the factory thermal paste has almost certainly dried up. Re-pasting the CPU and GPU can instantly drop internal temps by 10-15°C, recovering performance that gets lost under heavy loads.
If you’re curious about taking things a step further into enterprise-level hardware setups and deep software management, be sure to check out our comprehensive guides. We cover everything from advanced Windows optimization to setting up highly reliable HomeLab server environments.
Recommended Tools and Resources
Finding the right software can easily automate your entire maintenance schedule while giving you a much clearer picture of your system’s overall health. Here are a few must-have resources we highly recommend:
- HWMonitor: A wonderfully lightweight diagnostic tool that tracks your CPU and GPU temps, fan speeds, and voltages in real time.
- BleachBit: Think of this as an aggressive, open-source alternative to standard disk cleaners. It’s fantastic for rooting out deeply buried cache files.
- O&O ShutUp10++: This is a free, portable antispyware tool that puts you entirely in control of Windows telemetry and background data collection.
- Crucial System Scanner: Thinking about a hardware upgrade? Run this free browser tool to scan your exact motherboard and find out precisely which SSDs and RAM sticks are compatible with your specific laptop.
Disclaimer: A few of our recommended tools might contain affiliate links. If you decide to pick up premium versions through our links, we may earn a small commission—at absolutely zero extra cost to you.
FAQ: Troubleshooting Windows Speed
Does adding RAM improve laptop speed?
Yes, it makes a massive difference. If you’re someone who runs heavy software, spins up virtual machines, or simply leaves dozens of browser tabs open at once, expanding your RAM is crucial. It stops your system from leaning on your (much slower) storage drive for virtual memory swapping. Right now, 16GB is widely considered the sweet spot for the average user.
Will reinstalling Windows make my laptop faster?
Absolutely. Doing a totally clean installation of Windows wipes the slate clean, erasing years of registry bloat, pesky conflicting drivers, and potential hidden malware. In fact, most IT professionals actually suggest doing a clean install every 18 to 24 months just to keep things running efficiently.
Why is Windows 11 slower than Windows 10 on older laptops?
Windows 11 comes with much stricter hardware requirements and turns on intensive background security features—like Virtualization-Based Security (VBS) and Core Isolation—by default. While great for safety, these modern protocols add heavy computational overhead to older CPUs. As a result, older machines often feel noticeably sluggish when trying to handle complex tasks.
Conclusion
You don’t need a computer science degree to figure out exactly how to improve laptop speed windows. However, approaching the issue with an IT professional’s mindset definitely gets you the best results. By carefully identifying your hardware bottlenecks, aggressively minimizing software bloat, and taking advantage of advanced tweaks like PowerShell debloating and proper pagefile settings, you’ll see a drastic enhancement in your daily computing.
There’s no reason to let a sluggish machine dictate your workflow and limit your productivity. Start checking off the software quick fixes today, start planning for an NVMe SSD or RAM upgrade if your hardware is holding you back, and commit to a routine physical maintenance schedule. Your laptop will absolutely thank you for it, rewarding you with years of extended, reliably fast performance.